
Introduction
Recently, I had the opportunity to build a PoC (Proof of Concept — a demo) to resolve a specific computer vision problem and it was a cool experience, so why not share it?
The goal of the demo was to detect in real-time, having as input a video stream from a camera, if a specific object — a fake id card — has fingers on it, covering information that could be used, for example, in OCR tasks once the frame is achieved.
In other words, a system that can help to automate the capture of id document being confident all the relevant data on it is visible.
Examples (bad, bad, ok)


What we’ll cover
In brief, these are the points we’ll cover:
- the importance of building a working example, even if imperfect, to validate an approach
- how using a standard framework — CRISP-DM — even in a lighter version, can be very useful to guide through all the important phases of the project
- working code
Important note: no fingers were harmed during the making of this project :)
So let’s begin!
Building a working example
The goal to create a working model is to validate an approach and see if the first results are pointing in the right direction or fail fast and try something different.
A PoC is a working example that can be used both internally during development, both to show to someone as — guess what — a proof to demonstrate the validity of the approach.
But before starting to code, it is imperative to understand the problem, the available data and everything needed to be known upfront.
For doing this, using a structured approach can help, and here CRISP-DM comes to play.
Using a CRISP-DM based approach
CRISP-DM (Cross-Industry Standard Process for Data Mining) is a framework used to have a precise and repeatable list of steps and tasks while addressing a data-oriented problem.
As the name suggests, it’s used on Data Mining projects, existing since 1999 — but can be used for today’s ML projects too, as they are heavily data-oriented also.
Here you can see the main phases of the iterative process, starting from business problems to production deployment.
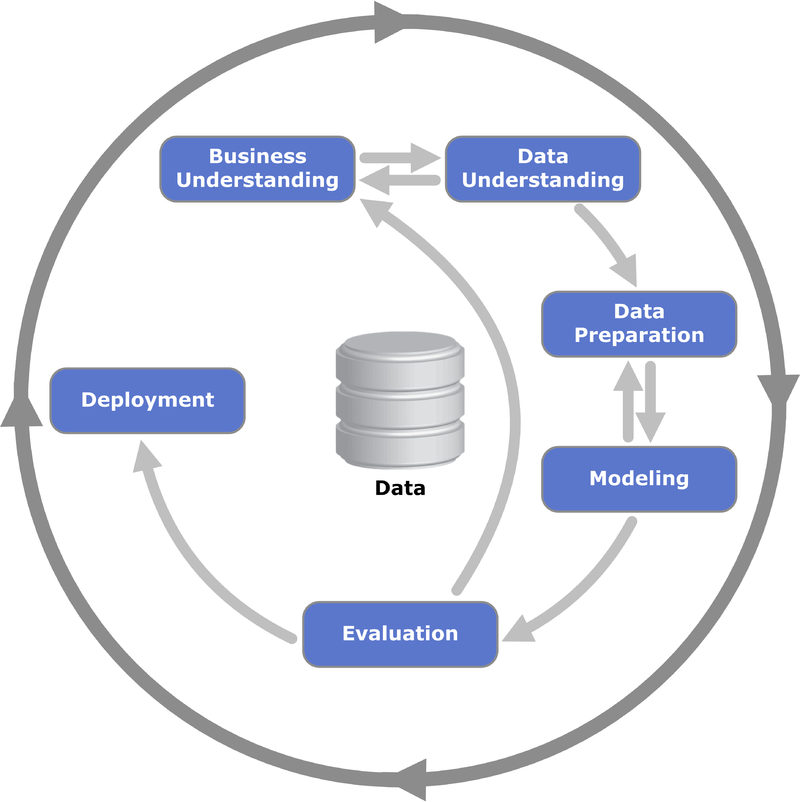
So let’s follow it describing what was done in the PoC, skipping steps not useful for a demo, like preparing a project plan or assessing cost/benefit analysis.
Business understanding
The business necessity is to automate a process of capturing a document and be sure the retrieved data can be used for further uses: specifically, a picture containing the whole document, without something covering part of it.
As the process is done using a camera, while the card owner is holding the document in front of it, the goal is to be sure we can terminate the capturing session with useful data.
Being a PoC, developed in just a few days, constraints were introduced to keep it simple:
- fixed capture area to avoid the necessity to track the object and deal with distance from the camera — a restriction that I guess can be used in production systems too. A simple blue box will indicate the area of interest on the screen in the demo
- in this article, for privacy reasons, a fake document was used and not a real id card
- only side parts of the document considered — more on this later
- not great attention to focus — a simple blur threshold check function, based on Laplacian variance, was used but it turned out was very dependent on light conditions, so it cannot be generalized. Probably a dedicate ML solution for this part, as an advanced preprocess step, could be more efficient
- only fingers considered as unwanted objects
- limited evaluation and training dataset, captured with a specific camera — just used my laptop to capture and evaluate data
The success criteria were based both on accuracy measures (objective) and how a live example is working (empirically).
Data Understanding
The input data were images taken from a video stream created by using the laptop camera.
Data Preparation
Capturing a high number of nearly identical frames could be annoying, so a parameter was introduced to capture or evaluate only a frame every x frames in the video stream.
As inputs, from the original frame, two subsets were considered for capture and evaluation, left-right borders and top-bottom borders, built selecting and putting together the specific image parts.
Top-bottom and left-right frames capture

No further preprocessing was done.
No other features were added, besides colored image matrix representation.
A note: could be worthy of investigating how hog representation (based on edge detection) works
Modeling
The evident approach was to consider a supervised problem and build four different datasets of labeled data for training (ok top-bottom images, ko top-bottom images, ok left-right images, ko left-right images).
Two simple CNNs were used — as it’s the de facto standard while dealing with image recognition tasks — with the same architecture but different input shapes, one for top-bottom images and one for left-right images. In retrospect, a better solution could use a unique image, built rotating left and right frames and assembling with top-bottom one, so only one CNN can be used.
Once sufficient and labeled data were captured, CNNs were trained and assessed. If during a test live session, a major classification error was evident, the image was added to the right class and the network trained again from scratch with the added new data.
Evaluation
The evaluation was based on accuracy, using a holdout (validation) set, separated from train and test data.
The results, in my case, were very high — too high — due to heavy overfitting, as only a couple of hundreds of images were used.
Besides the numerical value, being a PoC, even see it live is essential to prove it can work.
This is an example. Let’s describe what you’re seeing:
- The main area window, with the blue box indicating where to place the card
- Two frames windows — top-bottom and left-right images — with a small colored box indicating, in evaluation mode, if the image is considered ok (green) or not (red). The idea was to consider a whole frame ok if both top-bottom and left-right were ok, for a consecutive number of frames
Let’s see it in action (https://youtu.be/rzG7LHYfiho) (sorry but linking video seems not working)
Deployment
The PoC was run locally on a notebook, but it’s easy to imagine the classifier as an exposed API or deployed locally to specific target devices using, for instance, TensorFlow Lite.
Both approaches have pros and cons and the choice was beyond the scope of the PoC, mainly because more variegated data is necessary to decide what is best.
The code
The code is composed of the following files:
- detector.py: it handles the video stream. Can be used to capture frames, for training purpose or to evaluate frames for prediction, using a predictor instance
- predictor.py: it contains the models used to make predictions
- trainer_cnn.py: The CNNs and relative loading, training, saving and assessing methods
- properties.py: a list of properties used by detector and trainer
- utils.py: helper methods to deal with caching images and work with files
- main_capture.py: launch the program in capture mode
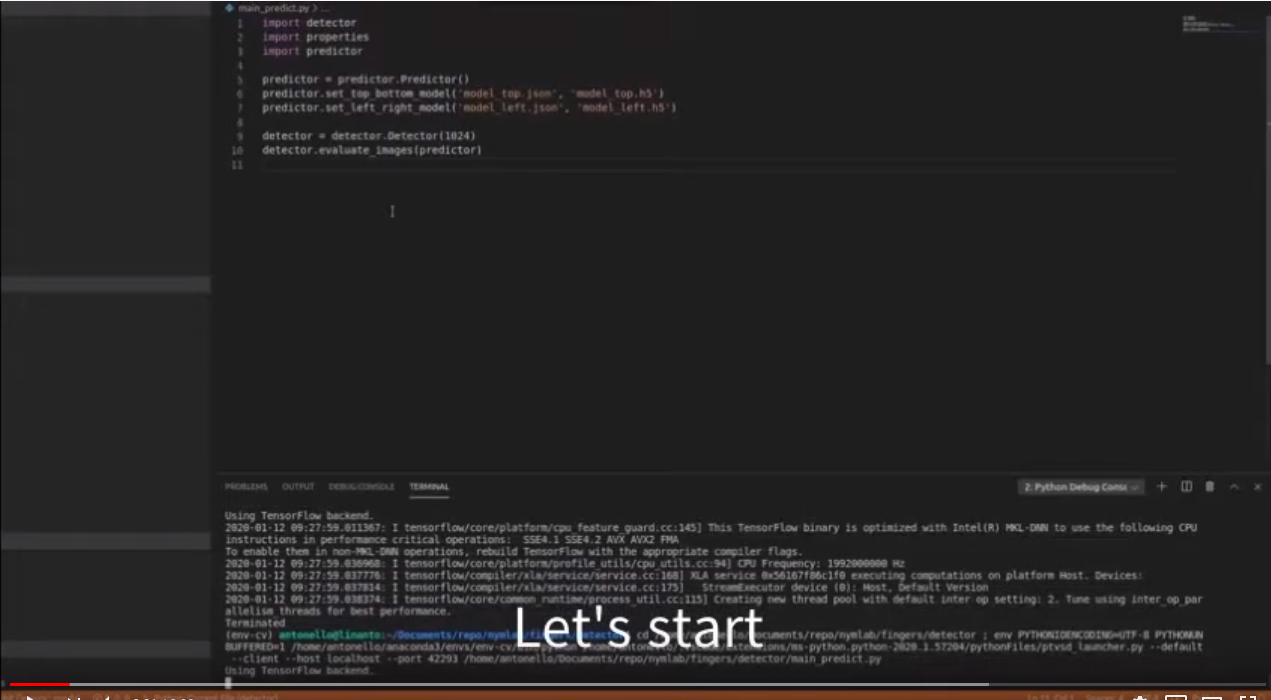
- main_predict.py: launch the program in evaluation mode
- main_train_cnn.py: train and evaluate the CNNs starting from scratch and using all the available images in the folders
The code is available here on GitLab
How make it works
1 — Run main_capture.py. It will create the necessary directories and start the camera. Press ‘c’ starts the capture phase, two more windows will appear showing the captured images for top-bottom and left-right frames that will be saved on sample_left_right and sample_top_bottom folders.
Press ‘c’ again to stop capturing. Change position, press ‘c’ again to start another recording session. If too many blurry images are captured, raise capture_blurry_threshold property value.
Record both valid (no fingers and only document borders visible) and not valid images (fingers visible). Press ‘q’ when done.
2 — Assess the captured images visually and move them in the right folders (ok_left_right, etc). Repeat steps 1 and 2 until enough data is available
3 — Run main_train_cnn.py. It will save training images on disk cache for faster retrieving (not used here because building from scratch), compile and train the CNN models, perform an evaluation using a holdout set, printing the results and saving the models on disk.
4 — Run main_predict.py. It will create a Predictor using the saved models in the previous step and start the camera. Press ‘e’ to start the evaluation. Two more windows will appear showing the classification results for top-bottom and left-right frames. Once a number of ok frames (both green) are achieved, a result image will be shown
Conclusion
I had a lot of fun developing this PoC, even because I never used OpenCV before, so I had the opportunity to learn a lot while addressing this problem.
More generally, trying to resolve a real problem is more useful to learn something than just watching tutorials or reading books, so find problems, understand them, and then implement a doable solution!
---------
Sono un Coach specializzato e IT Mentor, con 25 anni di esperienza nel settore IT. Se vuoi migliorare la parte Tech della tua Azienda o migliorare te stesso/a, sono qui per supportarti. Scopriamo insieme come
Sono un Coach specializzato e IT Mentor, con 25 anni di esperienza nel settore IT. Se vuoi migliorare la parte Tech della tua Azienda o migliorare te stesso/a, sono qui per supportarti. Scopriamo insieme come
